Conquering the Cricut Explore Air 2
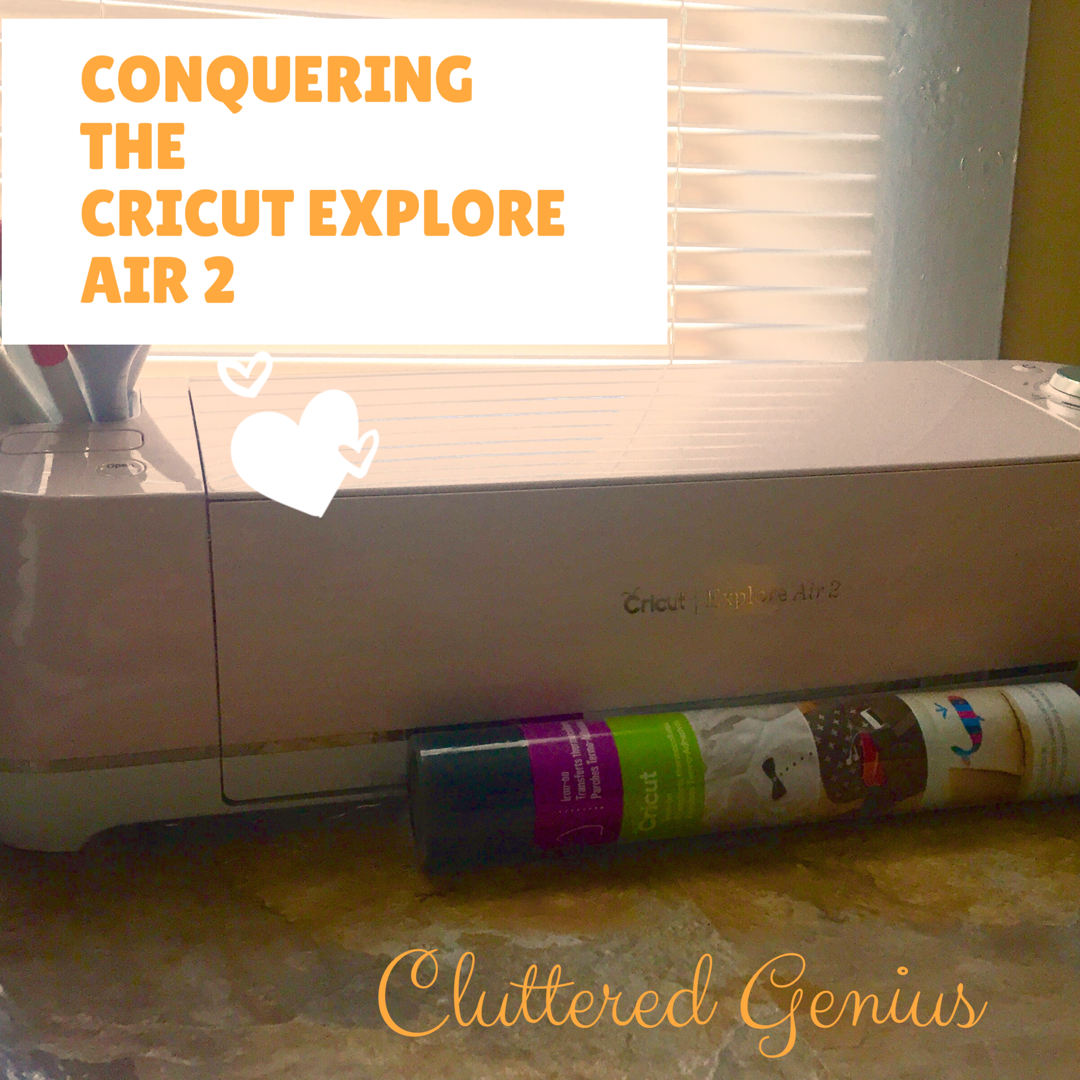
At the beginning of 2018, I swore to myself that I was going to tap back in to my creative outlet need and do more crafting. I must pat myself on the back and proudly say, “I’ve been doing it!” One of the number one items I wanted for my crafting room and projects was a Cricut, and when Prime Day was in full effect, I was able to snag a Cricut Explore Air 2. I love this thing. I was a little nervous at first because I was certain that I was going to have purchased it and then never use it. Wrong. I have conquered the Cricut Explore Air 2, and I’m rocking the DIY projects.
Understanding How
I didn’t have a clue, really, what variety of tasks I could accomplish with this machine. I knew it could cut. I knew it could draw. But I wasn’t sure of the process.
Luckily, when I opened the machine and started reading the instructions, I realized it offered me a “practice” craft. So, I followed the motions and did exactly what it said. No problemo. Plus, it’s super cute!

I had set up my Cricut Design Space account, so the bluetooth option was extremely easy. I can do it from the app on my phone, but I will say I totally prefer to use my computer. I think it’s just the size of the screen and the ease with which I can maneuver the mouse and keyboard.
Jumping In
I’m not one to sit back and watch tutorials, so I jumped right in. The first thing I did on my own was to design a fun vinyl sticker for my drink bottle. One of my goals is to make more items for friends and family — and maybe one day branch out and sell items — so I want to perfect the craft first. Makes sense.
I created a simple design in Design Space with a free font I liked from the Design Space library and my logo lightbulb for the blog. Uploading the logo was beyond simple (just follow the wizard), but my struggle was with transferring the design to my water bottle.

My method was by hand. That’s not the way to do it. I had no idea that I also needed some transfer tape.
Thành Phố Thái Nguyên PRO TIP 1: Get transfer tape. PRO TIP 1.1: Make sure it’s not strong grip. I’ll explain later.
I transferred each teeny little piece by hand, so my design came out a tad wonky. Cute, but wonky.
Using Vinyl
When I decided to reconfigure and redecorate our laundry room, I knew I wanted some cute signs, etc. What better way to try out the Cricut than to continue with my attempts at DIY. Plus, if something turned out awful, I only had myself to blame.
I went to my dollar store and grabbed some plastic buckets. I used one to cut vinyl and make a cute personalized bucket for Flash’s little friend. Then, I decided to make some items for our laundry room.
First, I made a “This and That” bucket. Then a “Single and Ready to Mingle” bucket for socks. I crack me up. Lastly, I needed something over our little sink, so I created a sign that I’d seen on Pinterest. My only regret is that I made the letters so BLOCK-Y, but that’s ok. I think it looks pretty good.

Because I’d gotten that transfer tape, moving vinyl from one sheet (the cut sheet) to the finished palette (bucket, sign) was way simpler. However, I’d inadvertently purchased strong grip transfer tape, and that description is no lie. Gracious, I had to fight with the transfer tape to let my vinyl go!
http://sunsationalhomeimprovement.com/carport-covers PRO TIP 2: Use the tools that come with the Cricut.
Probably the most helpful bit of info I could offer regarding vinyl (other than paying attention to the transfer tape) is to actually use the tools that come with the Cricut (or can be bought at a decent price). The little tweezer guys are my favorite.
Cutting and Writing on Paper
Vinyl is fun to work with, but I hadn’t really tapped in to how awesome the cutting and writing on paper option really can be. I have decent handwriting, but it’s not perfect. When I’m making something for a gift, I want the writing to be balanced and pretty.
In comes the Cricut Explore Air 2. As the beginning of the school year went underway, I used a cute idea I’d learned at a high school where I presented to make Survival Kits for our preschool teachers. To add a little snaz, I wrote each teacher’s name on some cardstock using a simple font, and I cut out apples using the Design Space options. EASY!

PRO TIP 3: Watch your dial settings on your machine. I had forgotten the first couple of times to change from vinyl to cardstock, so my cuts looked goofy. When I realized what I did, the cuts were way smoother!

Finding Inspiration
Crafting is an outlet for me. I want to be a scrapbooker, but I haven’t yet found my groove there. I’ve been making cards and enjoying the at home DIY signs for now.
Luckily, one of my close buddies kind of makes this stuff for a sidegig, so I get a lot of inspiration from her and the projects she shares with me. If you want to see some of the awesome projects she creates and shares, head over to visit her on her site with Close to my Heart.
This post is part of a linkup with other bloggers using the theme Rock It! Go see what everyone else created!
Giant Brownie Bowl Party Sundae from Baking in a Tornado
Kindness Rocks! from The Bergham Chronicles
How to (try to) Rock my Busy Life as a Part-Time Working Hockey Mom from Part Time Working Hockey Mom
Tropical Sangria from Spatulas on Parade
DIY Chrome Book Sleeve from The Lieber Family

At one time I was a big scrapbooker but lost my groove. I always wanted one of these machines but couldn’t justify the money. Since they first came out they have improved and aren’t the price of a car but still high. Would I use it? Is always my dilemma.
You did a great job and thanks for the tips.
Single and ready to mingle! You had me LOL
Aaawww, very nice, the teacher’s survival kit. So many creative things you can do once you get the hang of it, right?
I was a big scrapbooker when the boys were younger too, but I’ve never heard of the cricut. Sure wish I had, my projects would have looked so much nicer, less like they were done by a kindergardener. Can’t wait to see what you create next.
We got a Cricut in my office. I am required to play with it so I can help out other people who want to use it! Tough life, huh?! PS I use masking tape for most of my transfers. Works really well so far!