
Micro Cards
assiduously Years ago, I tried to scrapbook. Like, I really tried. In fact, my oldest has […]
assiduously Years ago, I tried to scrapbook. Like, I really tried. In fact, my oldest has […]

Last fall, the hurricanes in our area knocked down several trees. This caused us to […]

Well, y’all — looks like I’m turning in to a cat lady. Long story short: […]
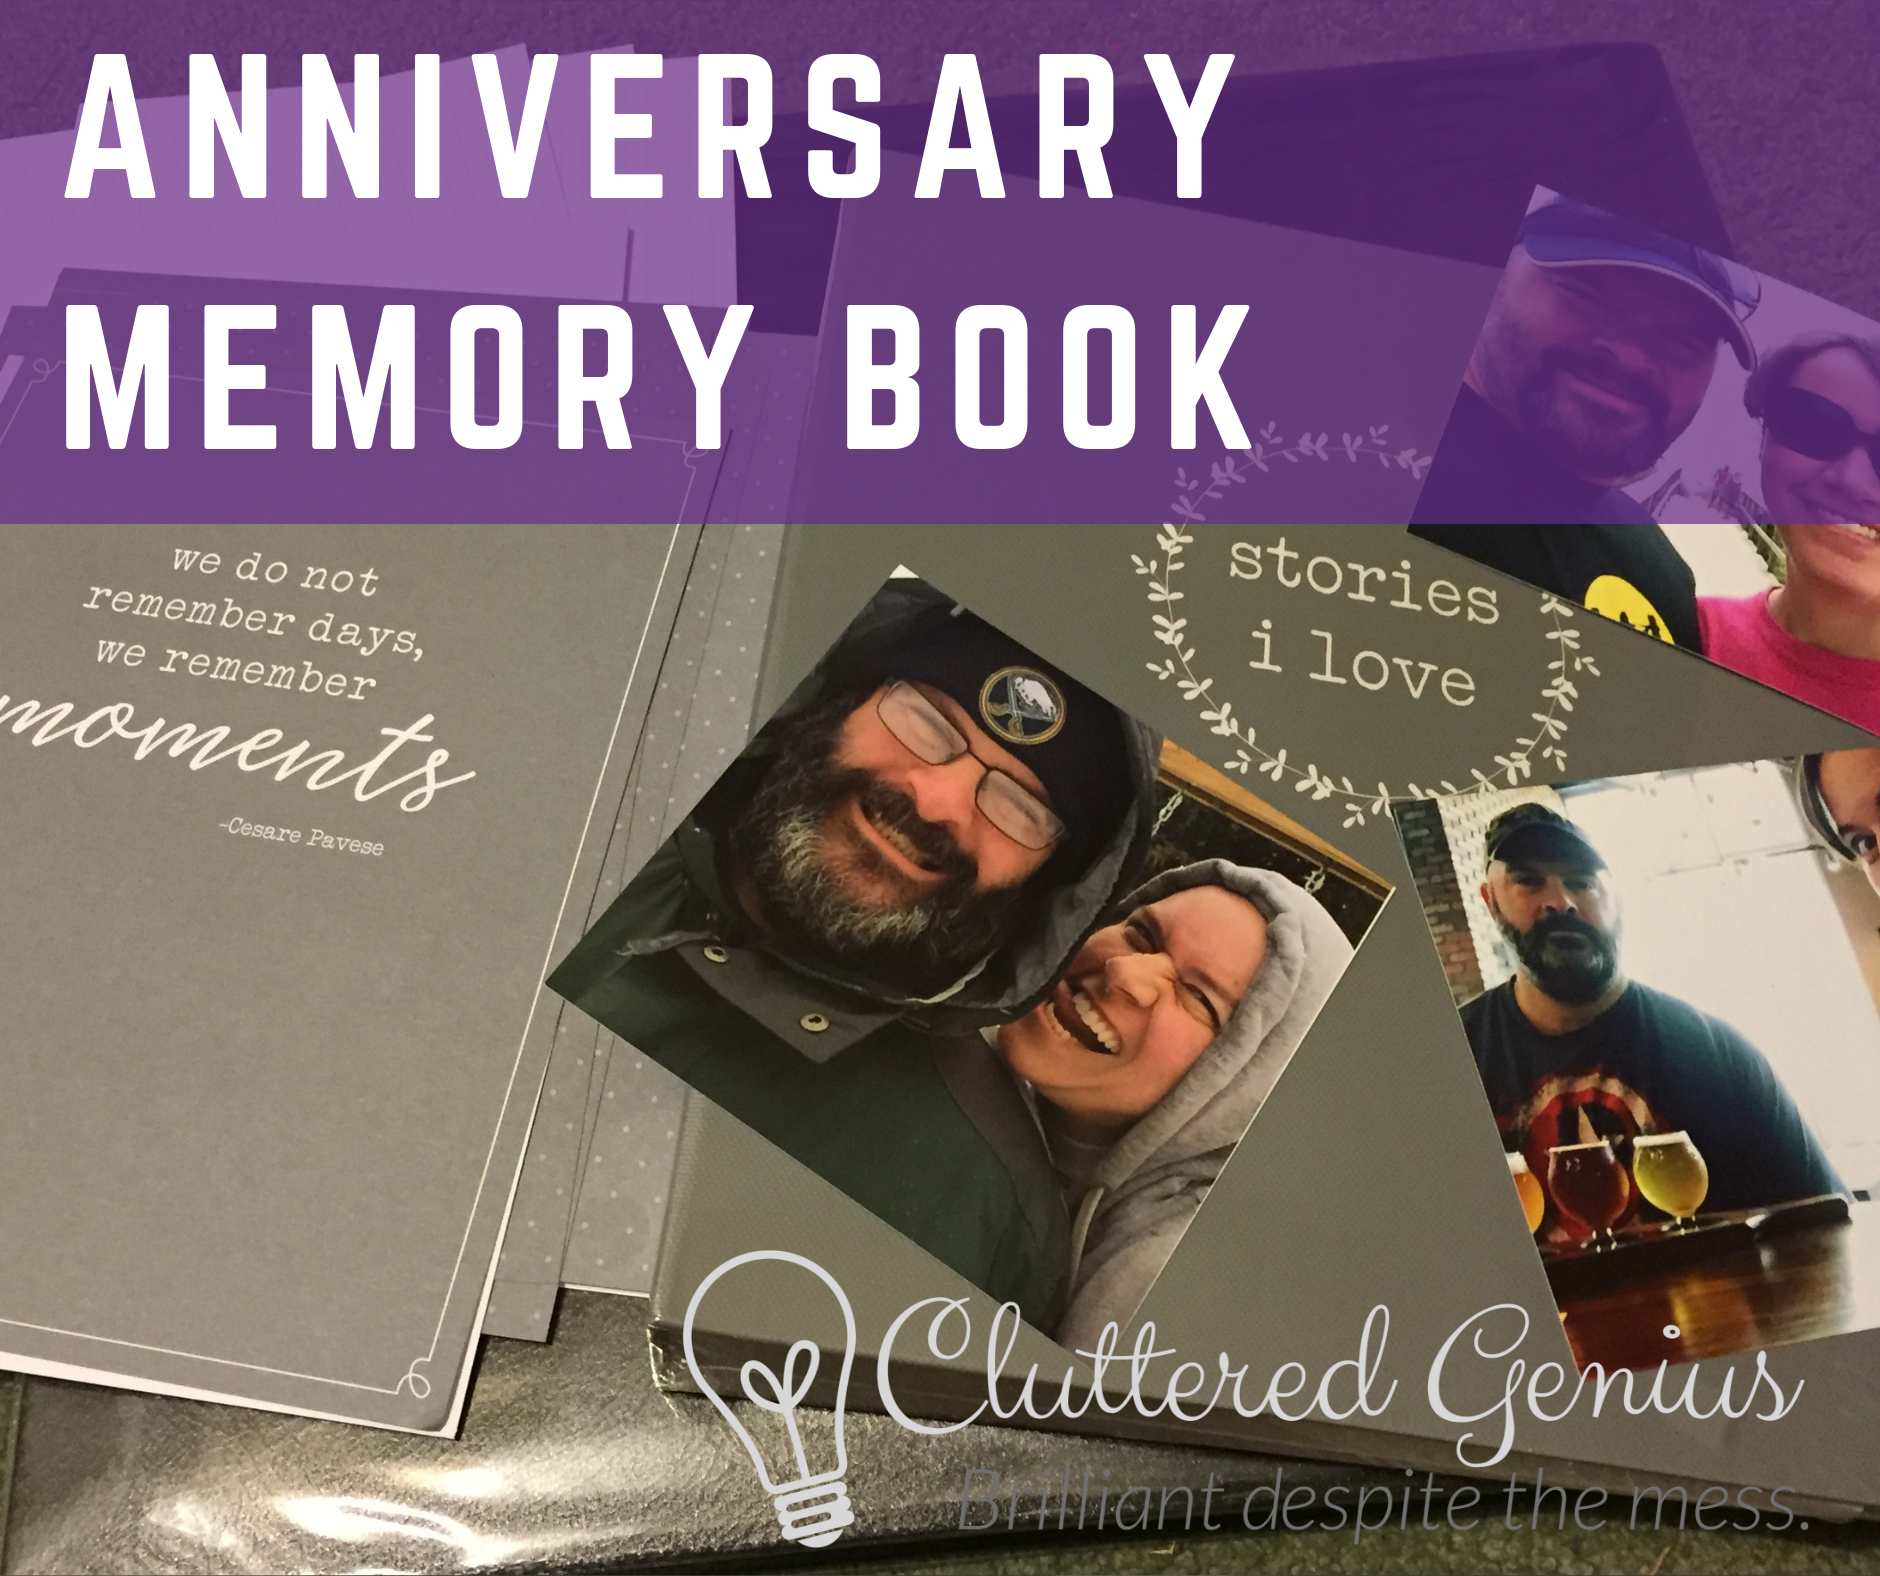
Math Man and I have been married for 10 years – woah! – and we […]

A few years ago, Math Man embarked on the journey of building our kids a […]
Recent Comments